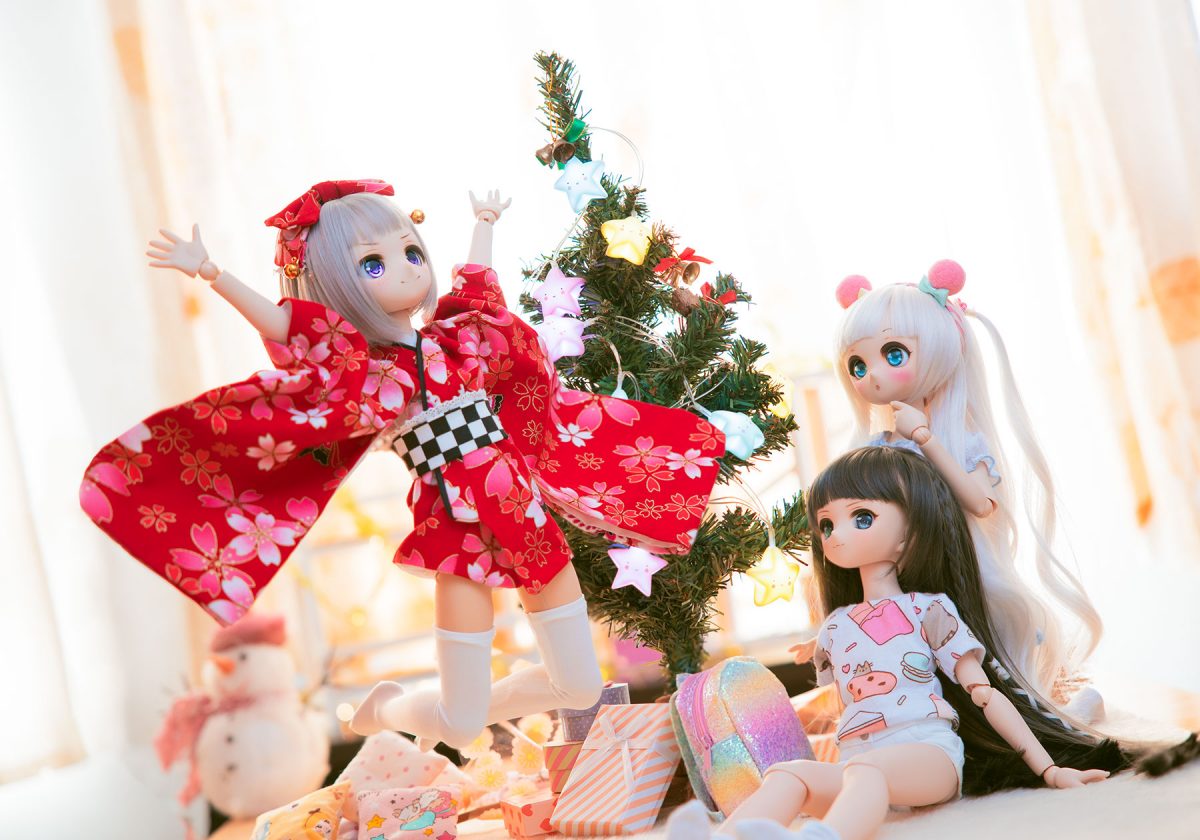
Hi dear, long time no see you here!! (๑˃̵ᴗ˂̵)
A lot of people asked me how can they improve their Doll Photography backgrounds, and that’s why I’ve collected 5 very easy ideas you can do at home and using few stuff.
I’ve also added some pros, cons and some tips so you can get the perfect background for your dolls. Shall we start? ~ ✨📸
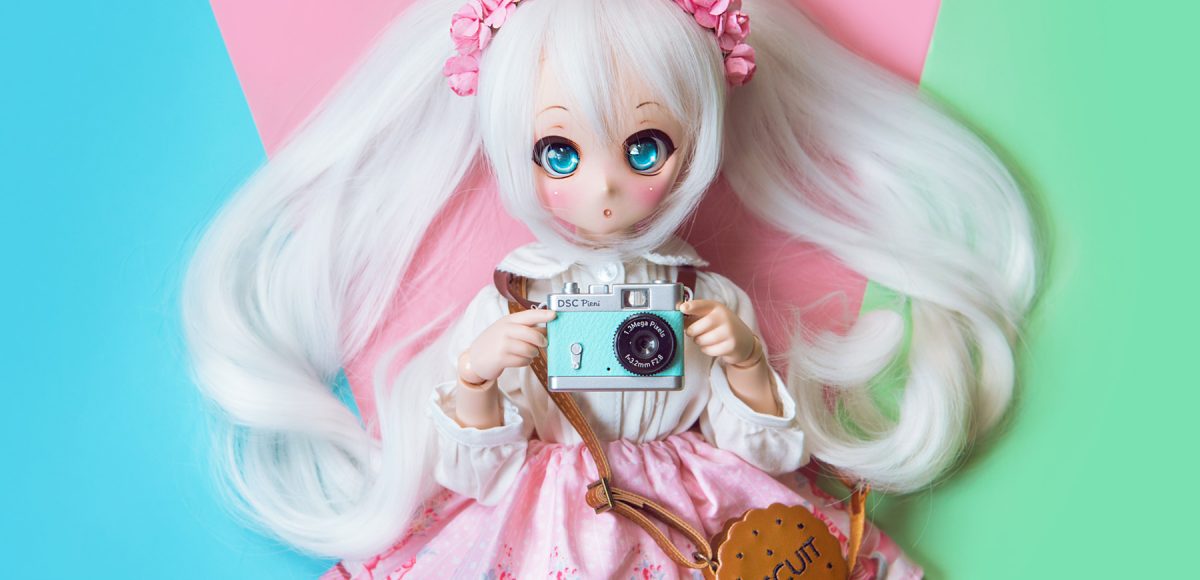
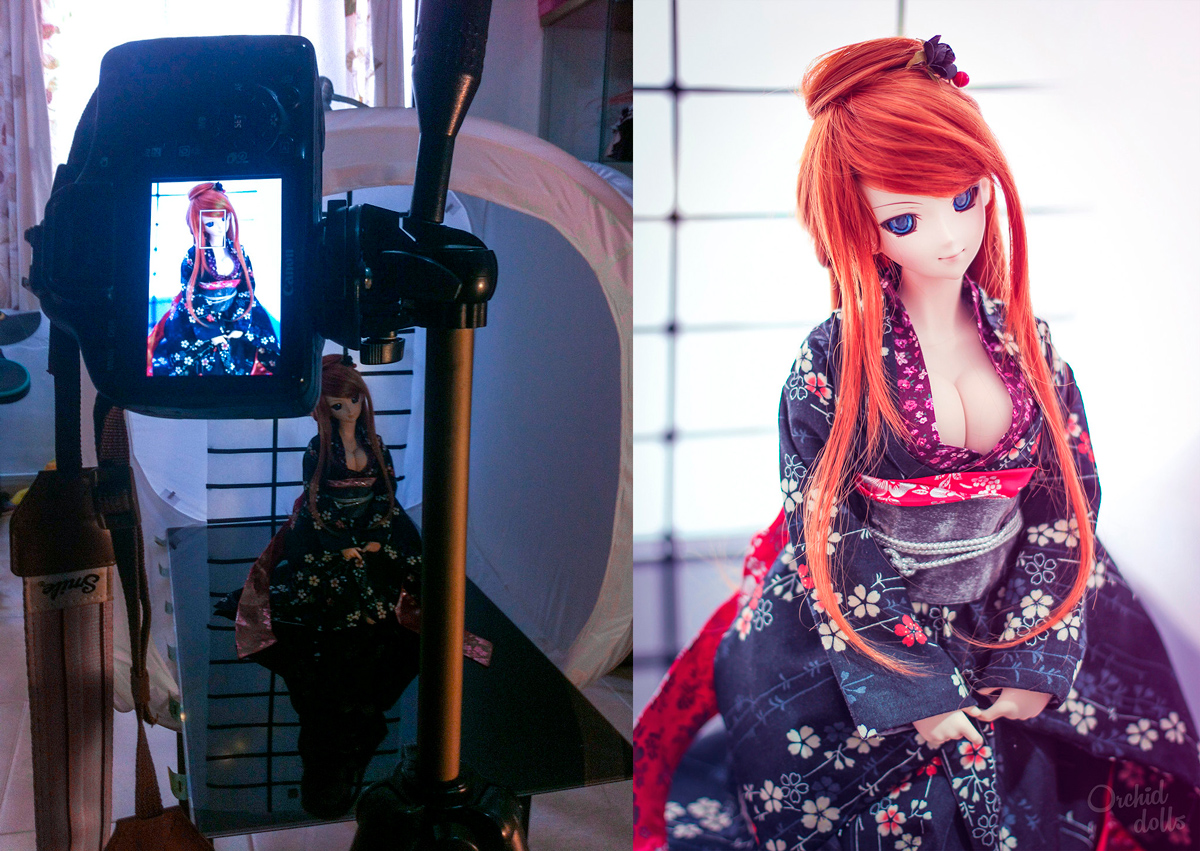
1. Plain color background
This is basically a portrait or a full-length photo in front of a plain background.


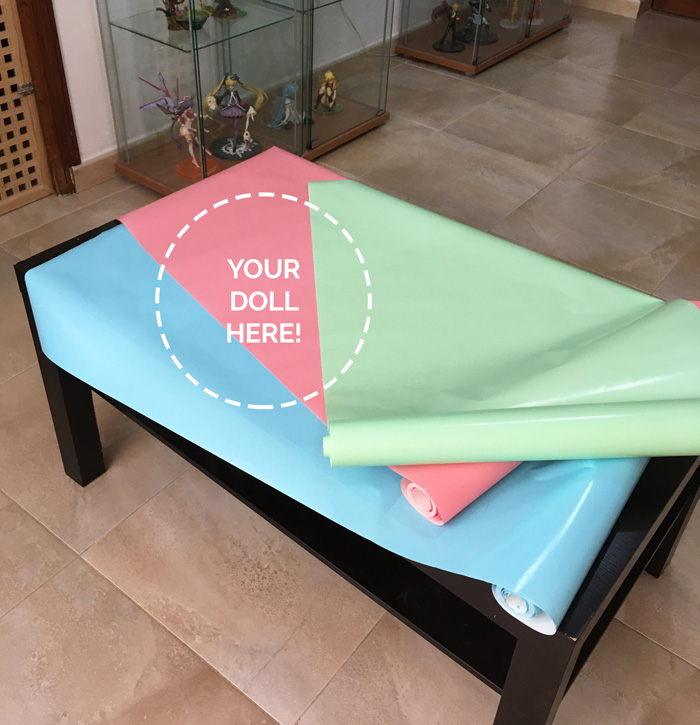
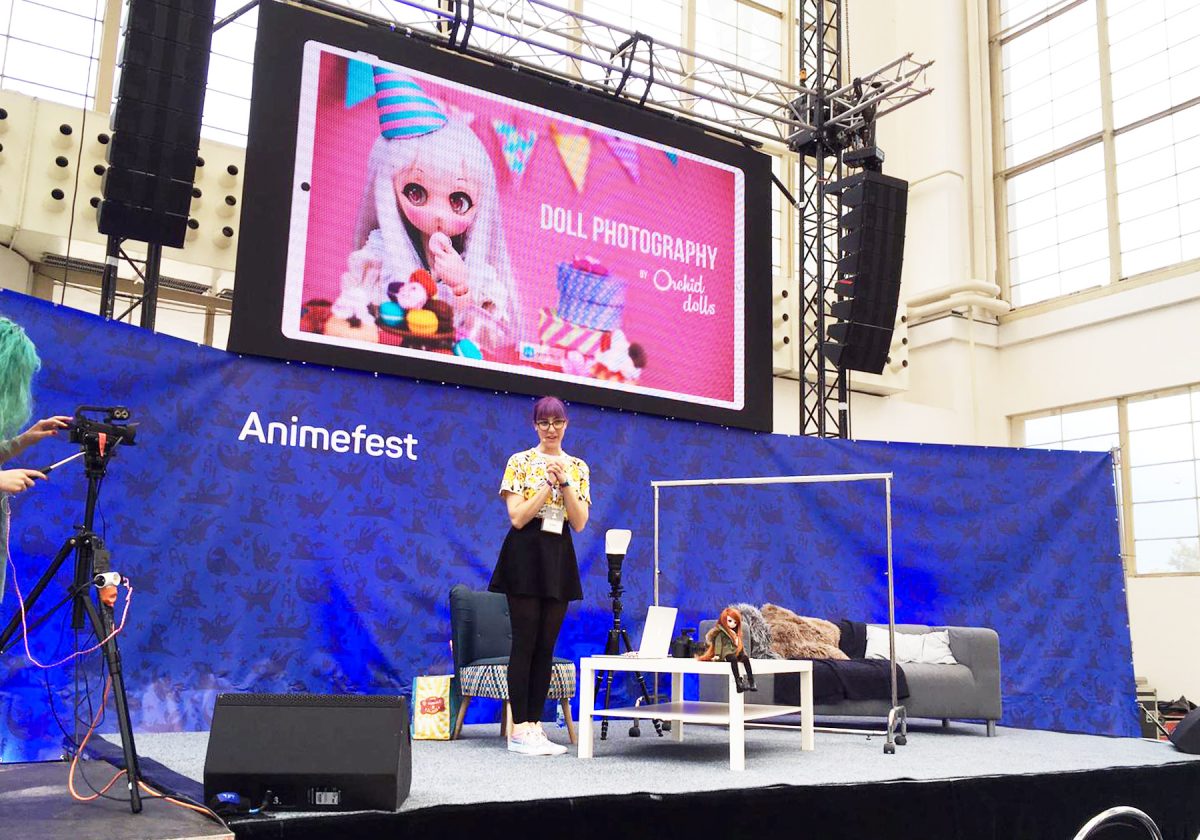
If you want to add a little more color, as in the banner of this post, you can play with different background paper rolls. Here you have the ‘making of‘, it’s super easy and attractive! ≧◡≦
Pros
✅ It has a very cool aesthetic
✅ It’s very powerful graphically
✅ You can play with the color palette easily
✅ It allows you to focus more on the pose and the doll aesthetics
✅ With few elements (only doll and backdrop) you already have an interesting picture
Cons
❌ Aesthetics is more important than telling a story
❌ Its minimalism may not appeal to many
❌ It seems easy but its complexity lies in a good lighting and composition
Tips
🔹 You must focus your attention on the lights and the composition to make it look good. I recommend using either a super soft and diffused light (for example, natural light on a cloudy day) or direct light with well defined shadows (I personally prefer the first option).
🔹 Make the background color match the doll or her clothes. Look for color palettes and get inspired by graphic arts for an eye catching result.
🔹 Play with the composition. Don’t be afraid to play with negative spaces (everything that isn’t your doll): think that it’s a purely aesthetic image.
2. Flat lay
¡One of my favs! Also known as “overhead shot“, it’s a type of angle in which the camera is located above the subject and perpendicular to the floor or table. In other words, in Doll Photography, what I do is put my doll lying on the table and add elements around her. Then I take the photo from above, without tilting the angle. I try to shot as perpendicular as possible to the table.
Photographing people is much more complicated because of the height you must reach to take the photo, but here the size of dolls is clearly an advantage.


Pros
✅ The possibilities and combinations of backgrounds, elements and poses are endless
✅ There’s no need to fear for our dolls, they won’t fall lol
✅ It’s really easy to control the decorative elements because they stay where you put them, we won’t need stands or threads (thanks, gravity!)
✅ You’re working in a “2D environment”, so you don’t have to worry (so much) about depth
Cons
❌ You need to buy elements to create new compositions (flowers, miniatures, backgrounds, various decoration…)
❌ It may take longer than you planned: you take the photo, you see something that’s not well placed, you change it, and so on until you get the result you want.
❌ It is a very static kind of photo
Tips
🔹 Don’t stay half way through: either do not put decorative elements or put a lot of them.
🔹 If you use a lot of elements, fill the background up to beyond the edges of the photo, this way it will look like there’s many more.
🔹Distribute them in an interesting way. There are many composition rules but in the end, the most important thing is that YOU like it. This is what makes it YOUR photo and not somebody else’s photo.
3. Simple decoration
I know having a complete diorama is the ideal thing, but we may not have the resources or the space to store something as big as this at home (especially for 1/3 scale dolls).
In these cases, a simplified version of a diorama can be created with only a floor, a backdrop and some furniture. In the next photo of Glitch I used a sticker paper that simulates wood as the floor, a fake fur fabric as a rug, and another fabric as a curtain. All these materials can be stored once the photo is taken, and it takes almost no space.


Pros
✅ You don’t need a lot of space at home to store the sets
✅ Easy to assemble and disassemble
✅ It’s cheaper than a real diorama
✅ You focus the viewer’s attention on the doll, and also having a context for her (not as the plain color background)
Cons
❌ It’s not as realistic as a full diorama
❌ Assembling and disassembling the set can get tiresome
Tips
🔹 Blur the background a bit: you will create some depth and also hide the flaws of the simplicity of the set. You can do it either with the camera, with a wide aperture (f/2.8, f/1.8, or even f/4, depending on the light and the placement of the elements), or later by editing the photo.
🔹 Add some extra miniatures and decorations to enrich the scene and add some context.
🔹Create your own backgrounds, like this one I made using only tracing paper and black masking tape. Super easy, foldable and also plays with the light by being translucent:
4. Lights… and action!
Photography is light, so this is a fun way to experiment and try new things. Use natural light, artificial lights, light strips… Each photo will be unique!


Pros
✅ This is a fun way to enter the world of lighting, understand how light works and how the camera perceives it.
✅ The results will never be boring
✅ With certain backlights (for example LEDs) you can get the famous bokeh effect
Cons
❌ The difficulty is a little higher than in the previous photo backgrounds
❌ Not getting the desired effect can be frustrating
Tips
🔹 If you’re going to try this type of background, take it as a game. That way you don’t limit yourself in any way and you experiment freely.
🔹 Try to keep your dolls correctly exposed (that is, neither too light nor too dark) compared with the background. For this, you can use a reflector, to redirect part of the light, or another light source.
5. Photoshop it
If you want to do something really different you can always turn to Photoshop. Here I don’t show you a specific type of background, because you can directly do what you want. The only limit is your imagination (and your skills with the program 😜).


Pros
✅ You can create the image you want, literally
✅ There are cheaper and even free alternatives to this program like Gimp
✅ You can learn to edit photos easily thanks to the thousands of online tutorials out there
✅ It’s a great exercise of imagination and creativity
Cons
❌ Achieving a good result requires time and learning
❌ There is a fine line between the ‘WOW’ and the ‘UGH’
Tips
🔹 For me there’re two kind of photos: those that are visually stunning and those that tell a story. Of course you can have both, but there’ll always be one that is more important than the other.
🔹 Don’t worry if your first editins aren’t good enough, nobody’s born knowing. We all go through a learning stage and it’s important not to become obsessed with this. Keep playing and keep creating, practice makes perfect 😉
What is your favorite background of these 5?
If you try any of them on your photos let me know, I’d love to see it! 😍💙
Eva | July 3, 2020
|
Excellent post, thanks! <3 When you replace the background, do you usually shoot with a greenscreen type background so you can easily remove it?
orchiddolls | Author | July 3, 2020
|
Thanks! I’m happy that you like it! ♡ No, I don’t use a green background. The technique depends on the photo, but I prefer to remove it carefully by hand (using my tablet) so I can control the edges better ^_^
Basma | July 3, 2020
|
This is so helpful thank you for sharing it😊❤️👍🏼👍🏼
orchiddolls | Author | July 3, 2020
|
Thank you!! I’m glad it’s helpful!
Anonymous | August 3, 2020
|
Another wonderful tutorial! Thank you so much for posting this!
orchiddolls | Author | August 6, 2020
|
Awww thank you! ♡